
Deploy Svelte app in Github Pages

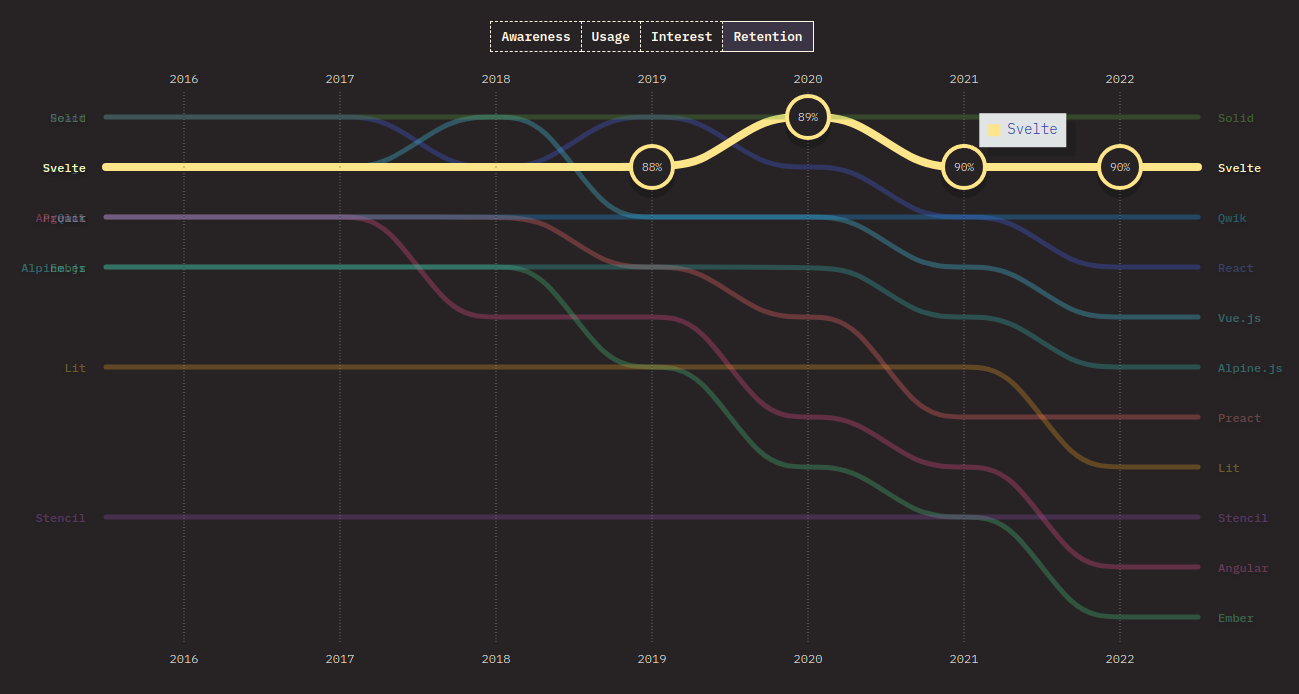
With giants in the Frontend-Framework world like React and Angular, Svelte the underdog has seen an tremendous growth among the developers and within the community since its inception in 2016.
Take a look at the results of StateOfJs survey here
Create a GitHub Project
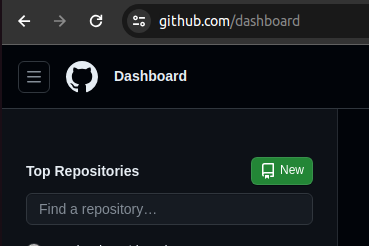
After creating a new GitHub account or signing into your account, the dashboard page opens.
By clicking the New button, create a new project.
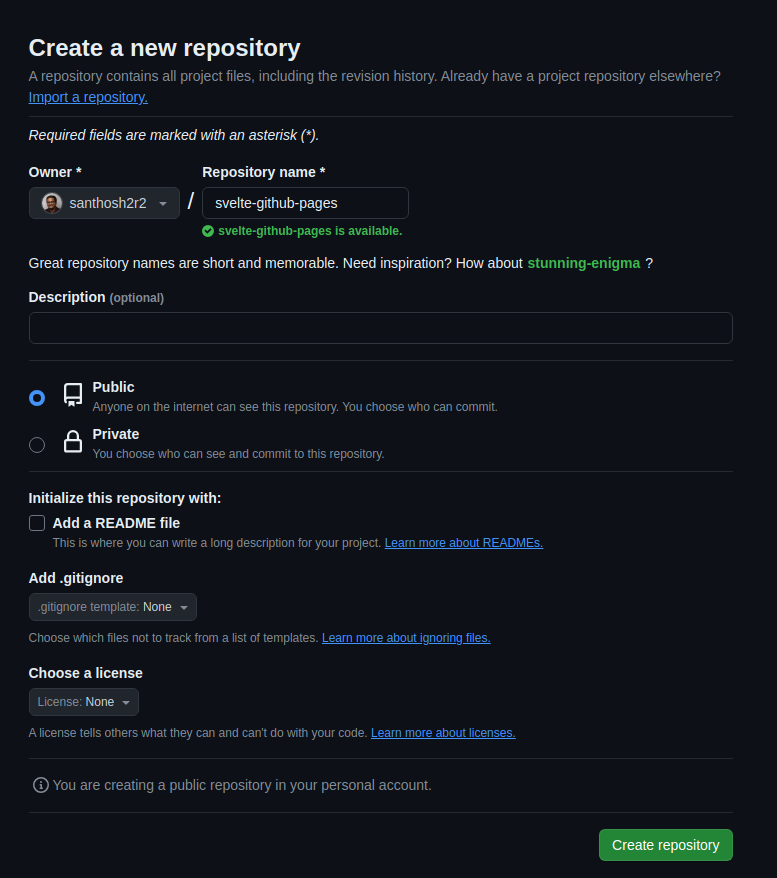
Enter a project name and the visibilty should be public. This is because, for Free account, only “public” projects can publish using GitHub Pages.
Enable GitHub Pages
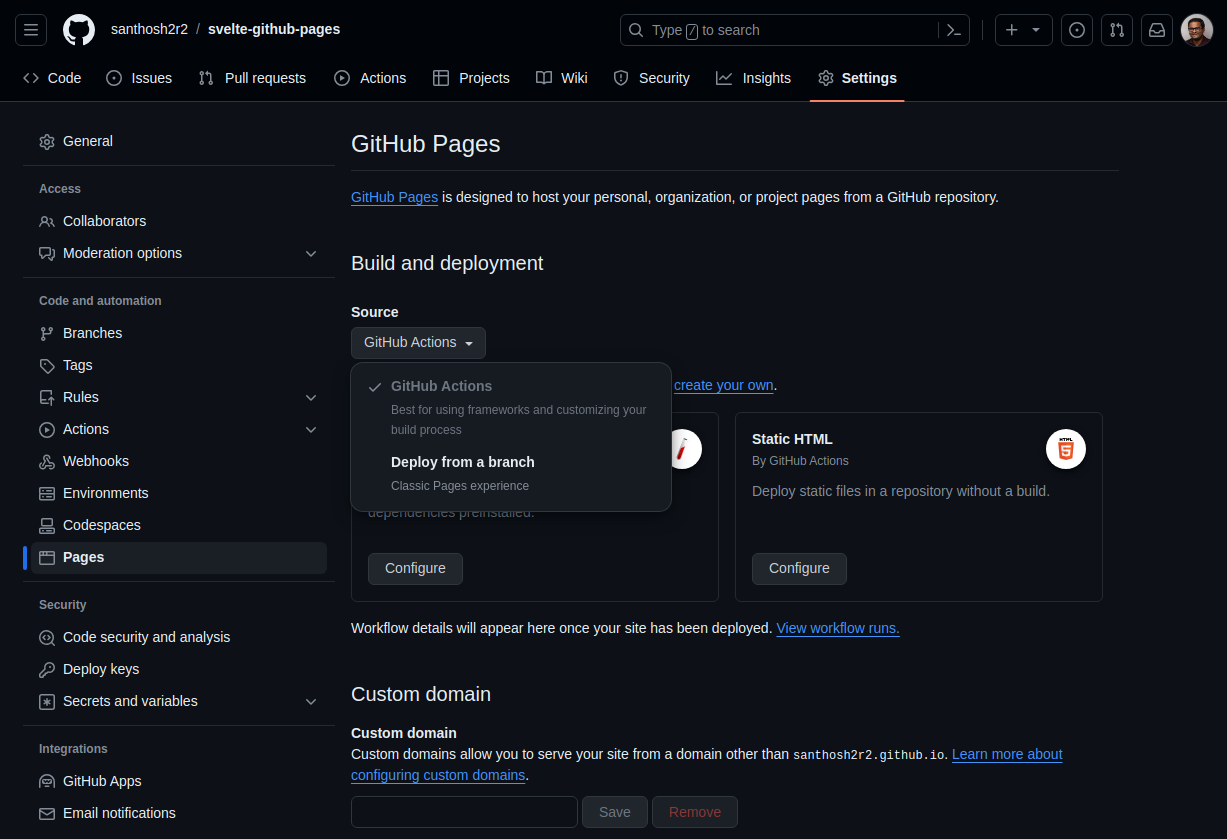
In the GitHub project, do the following steps
- Navigate to
Settingstab - Select
Pagesfrom the sidebar - Make sure under Source,
GitHub Actionsis selected
That all you need to do for now.
Setup a svelte project
In this post, we are going to look into a basic Svelte project and not SVELTEKIT based app.
-
Create svelte project.
npm init vite -- test-project -
Choose the option
Svelteand language of your choice, here I have selectedTypescript.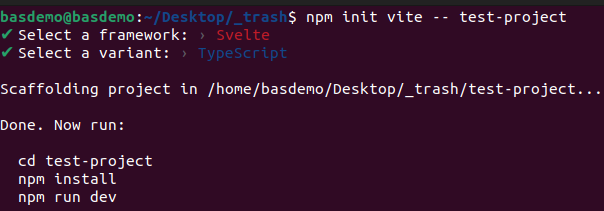
-
Exceute the following commands, to check whether the development server starts.
# navigate to the project foldercd test-project# Install the node modulesnpm install# Start the dev servernpm run dev -
The server should be started at http://localhost:5173/
-
Open the project in
VS Code. The project structure should like this.- index.html
- package.json
- package-lock.json
Directorynode_modules/
- …
Directorypublic
- vite.svg
- README.md
Directorysrc
- app.css
- App.svelte Starting point for svelte-projects
Directoryassets
- svelte.svg
Directorylib
- Counter.svelte
- main.ts
- vite-env.d.ts
- svelte.config.js
- tsconfig.json
- tsconfig.node.json
- vite.config.ts
Update vite.config.ts file
import { defineConfig } from 'vite'import { svelte } from '@sveltejs/vite-plugin-svelte'
// https://vitejs.dev/config/export default defineConfig({   base:'svelte-github-pages', // project slug from GitHub  plugins: [svelte()],})
Create workflow file
In order to deploy to GitHub Pages, create a file deploy.yml in the folder .github/workflows
Directory.github
Directoryworkflows
- deploy.yml
- index.html
- package.json
- …
Copy the following contents into the file.
name: Deploying Svelte app
on:  push:    branches: [ main ]  workflow_dispatch:
# Allow this job to clone the repo and create a page deploymentpermissions:  contents: read  pages: write  id-token: write
jobs:  build:    runs-on: ubuntu-latest    steps:      - uses: actions/checkout@v2      - name: Install and Build        run: |          npm install          npm run build
      - name: Upload artifact        uses: actions/upload-pages-artifact@v3        with:          name: github-pages          path: dist          retention-days: 1
  deploy:    needs: build    runs-on: ubuntu-latest    environment:      name: github-pages      url: ${{ steps.deployment.outputs.page_url }}    steps:      - name: Deploy to GitHub Pages        uses: actions/deploy-pages@v4        id: deployment
Upload the project
Now save its time to create the initial commit and upload the project to GitHub. Follow the following commands
- Initialize Git Repo
git init
- Add files and write the commit message
git add . && git commit -m "initial commit"
- Setup the remote origin. Change the URL according to your project.
git remote add origin https://github.com/santhosh2r2/svelte-github-pages.git
- Push the commit to remote repository
git push origin main
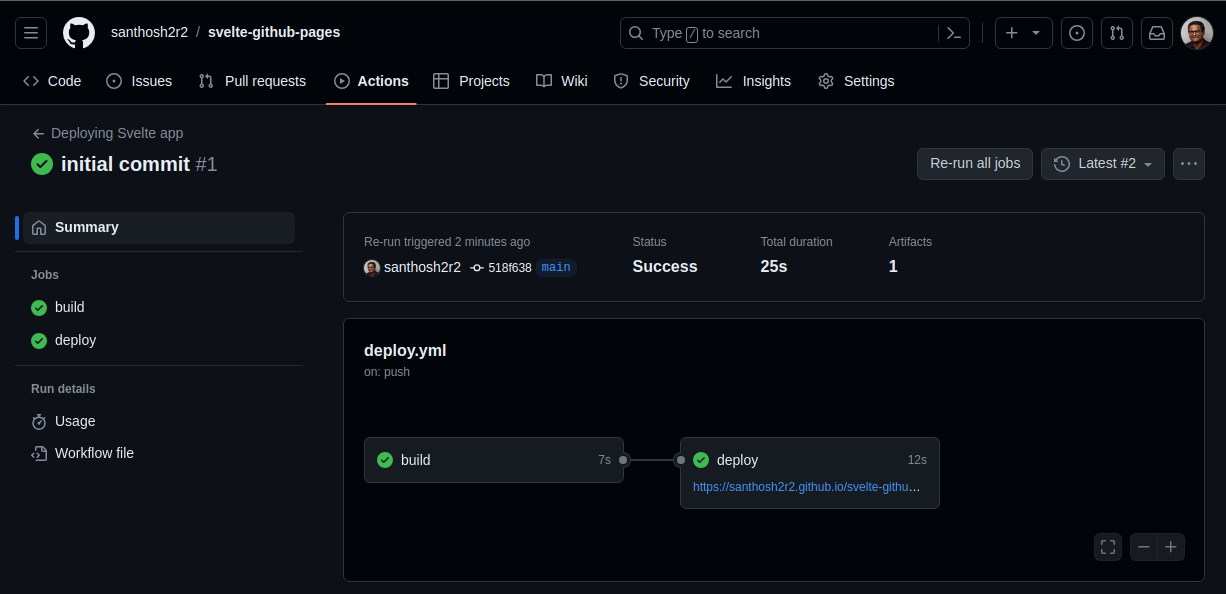
Reviewing GitHub Actions
After the initial commit, go to the project in GitHub website. Under the tab Actions, you can see a 1 workflow run.
A successfully completed job looks like this below. And the website is hosted under https://santhosh2r2.github.io/svelte-github-pages/
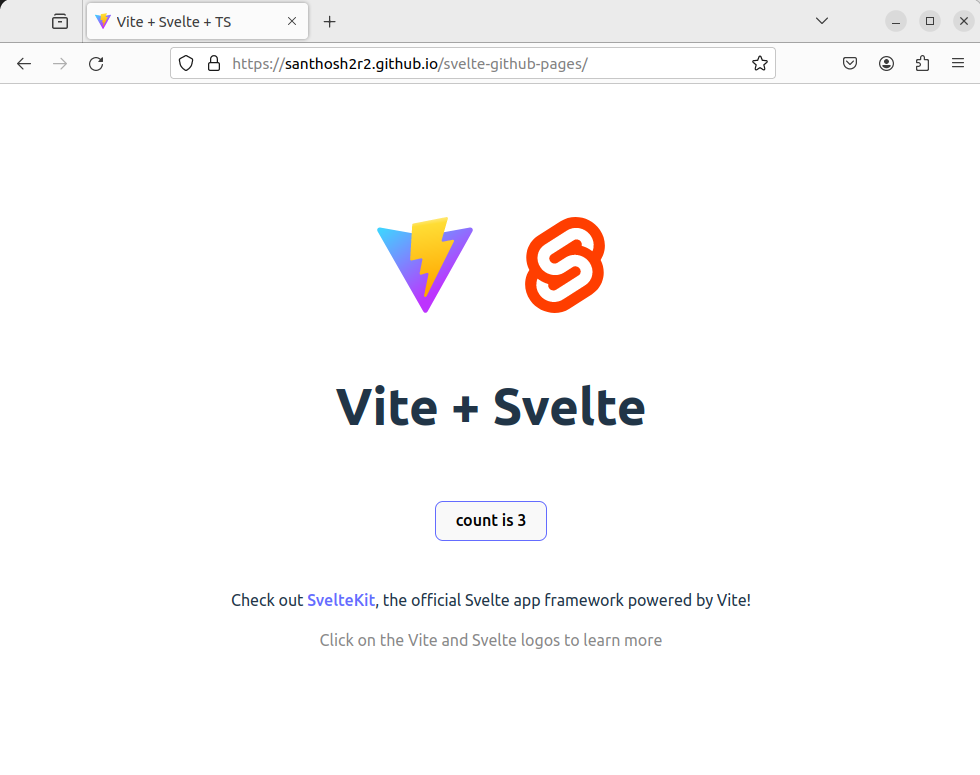
The final website should look below.
Next steps
Now you have a svelte project deployed in GitHub and made available for everyone.
Have fun making your next project.